
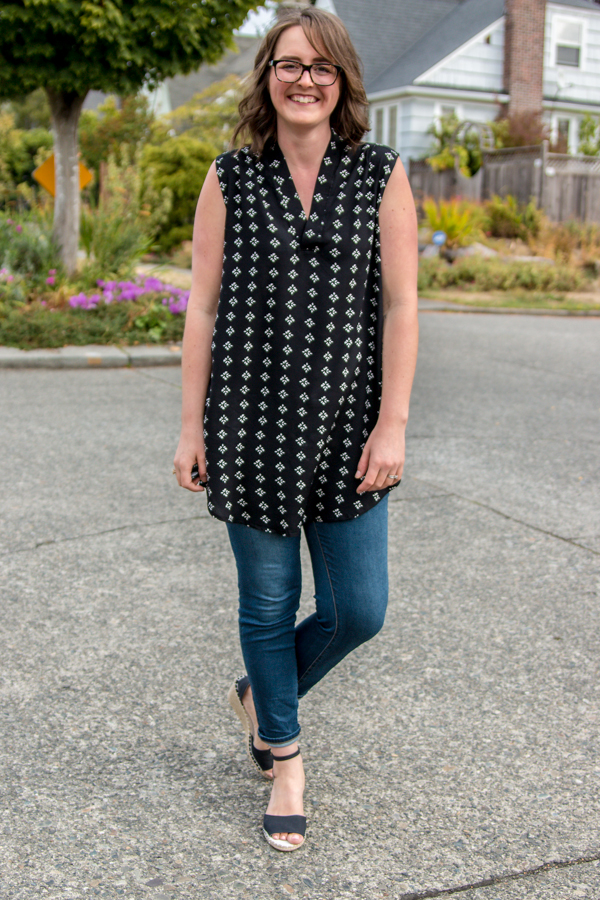
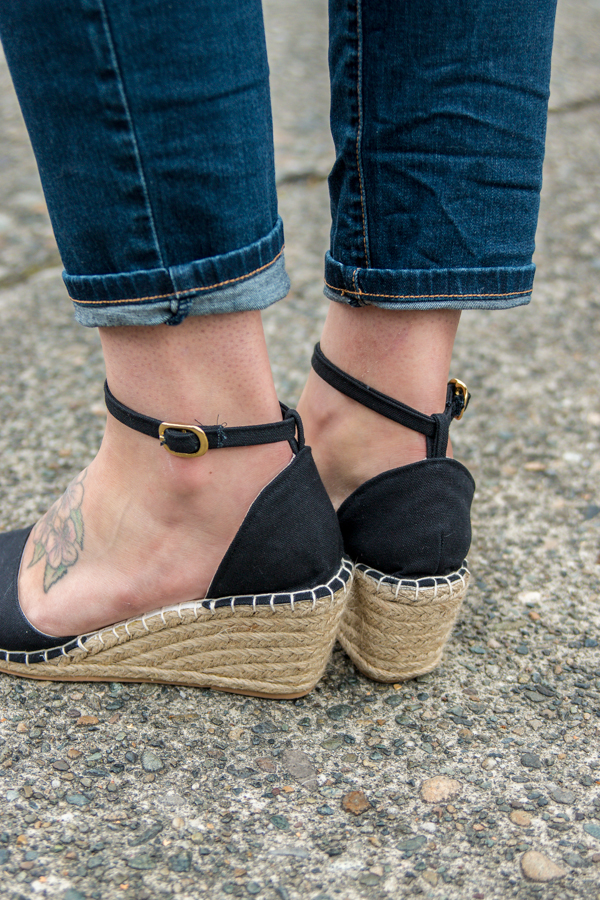
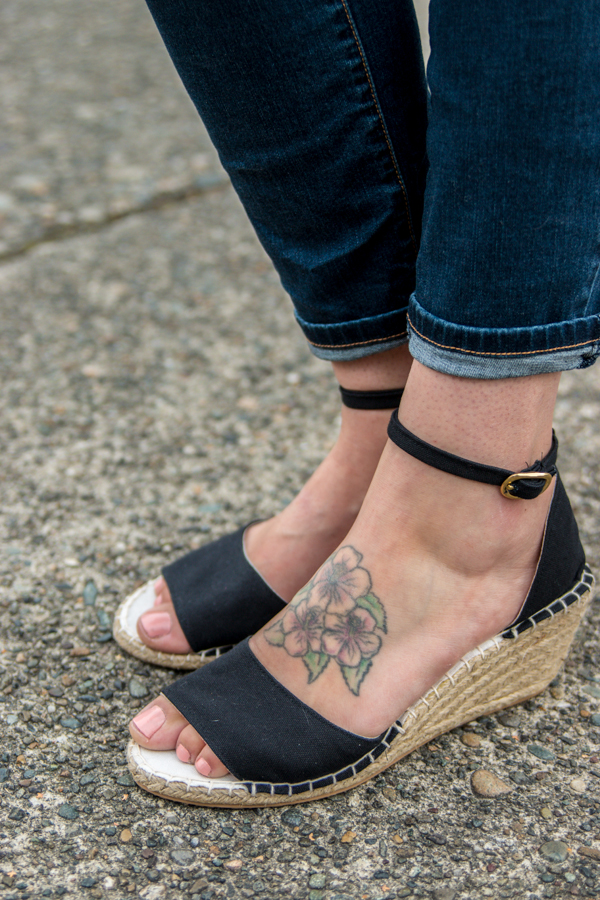
I feel freaking beautiful in these shoes. What is it about a great pair of shoes that makes you feel fantastic. What’s even better is that I made these shoes. I also didn’t realize how great they would look with this sleeveless Leschi I made a few months go. Perfect casual yet put together look.
When Melissa of A Happy Stitch reached out to me about participating in a blog tour for her Espadrille kits I immediately said yes… in my head. Turns out I never emailed her, but thankfully she followed up so I could participate in this great make.
I actually took Melissa’s Espadrille class at Craftcation last year so I was excited to try my hand at another pair. I was lucky enough to get a little taste of the wedge Espadrille kits that Melissa is adding to her shop. As soon as they are added you have to give these a try, they are so much fun to work on.
If you haven’t checked out her kits you definitely need to see what she has available, especially those Jen Hewitt blockprint fabric kits which are the perfect fabric for this project.
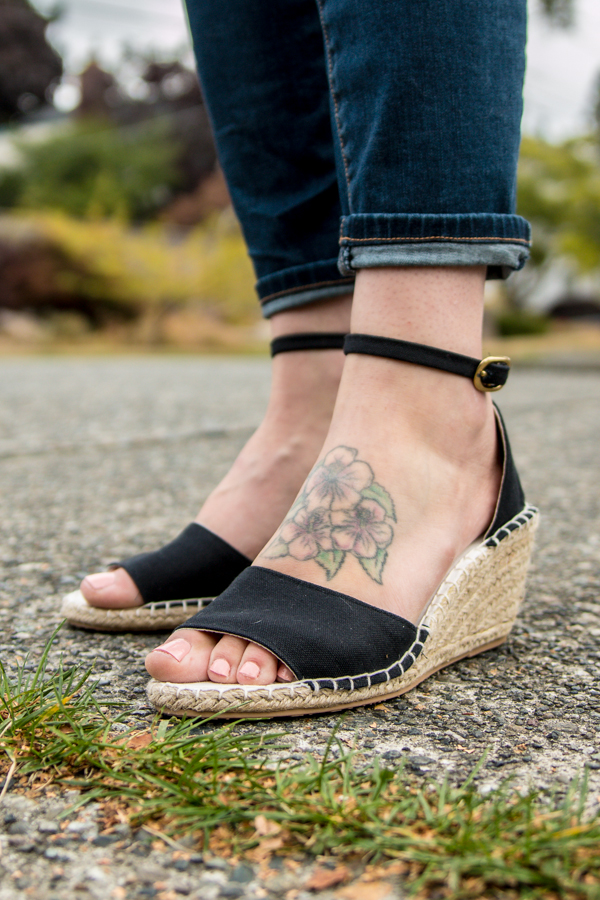
After deciding on the wedges I had to choose a fabric. I love the idea of a neutral pair of wedges and I thought that the black canvas dressed up the casual sole a bit. Plus I am headed on a cruise with my husband for our 10th anniversary in a few months so I felt like I was channeling the Mediterranean while working on these.
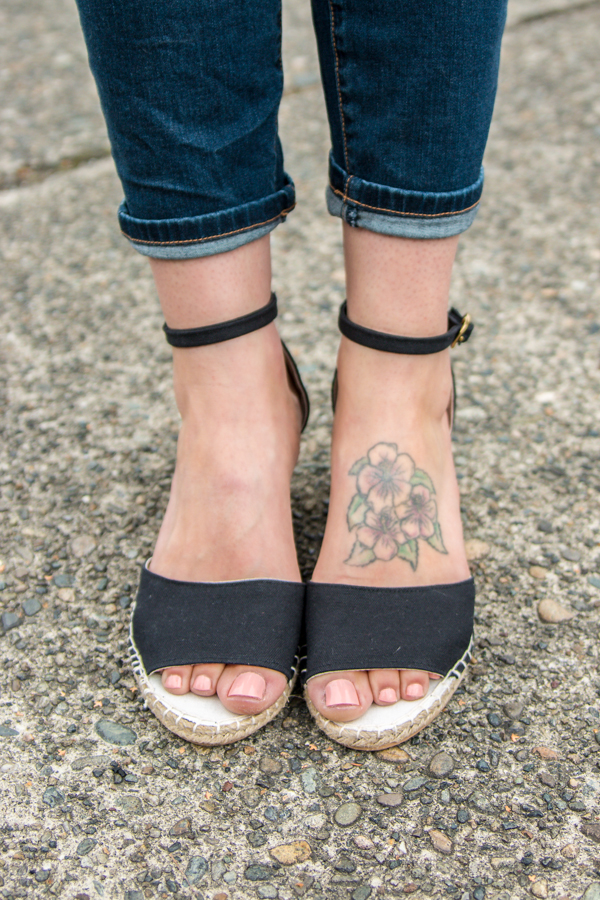
I spent more time than I care to admit looking through Pinterest for design inspiration but finally settled on an open toe shoe with a loop for the ankle straps. All really easy adjustments to the pattern that I will walk you through at the end of the blog post.
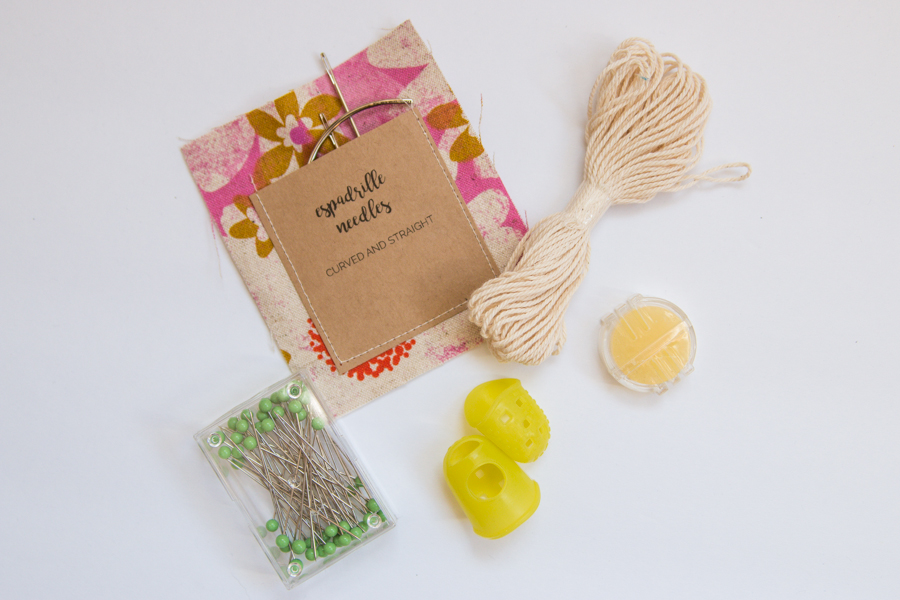
What is great about the kits that Melissa sells is that she gives you absolutely everything you will need to make these shoes. Not only an instruction booklet, the main fabric, lining, and interfacing but also the supplies you need down to the cutest little pocket that holds your needles.
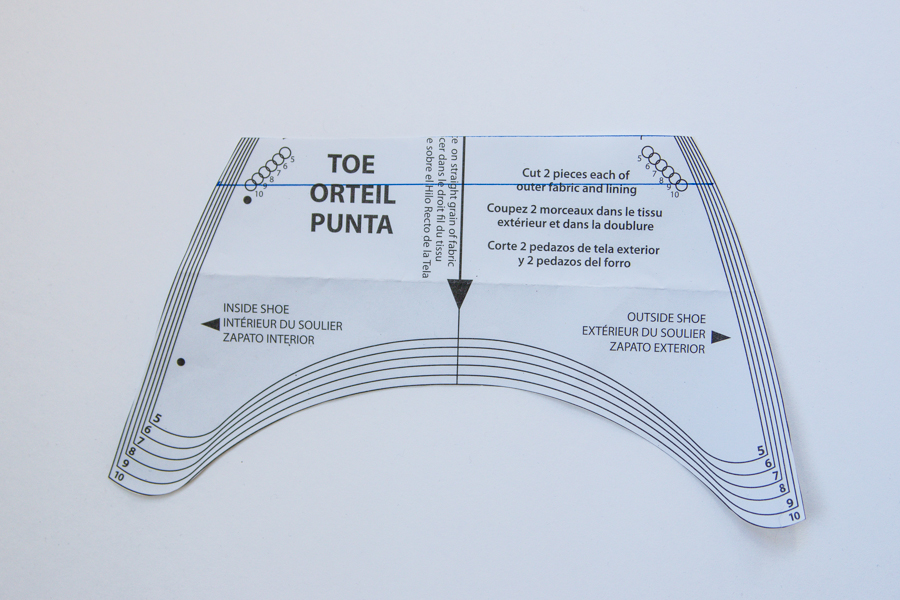
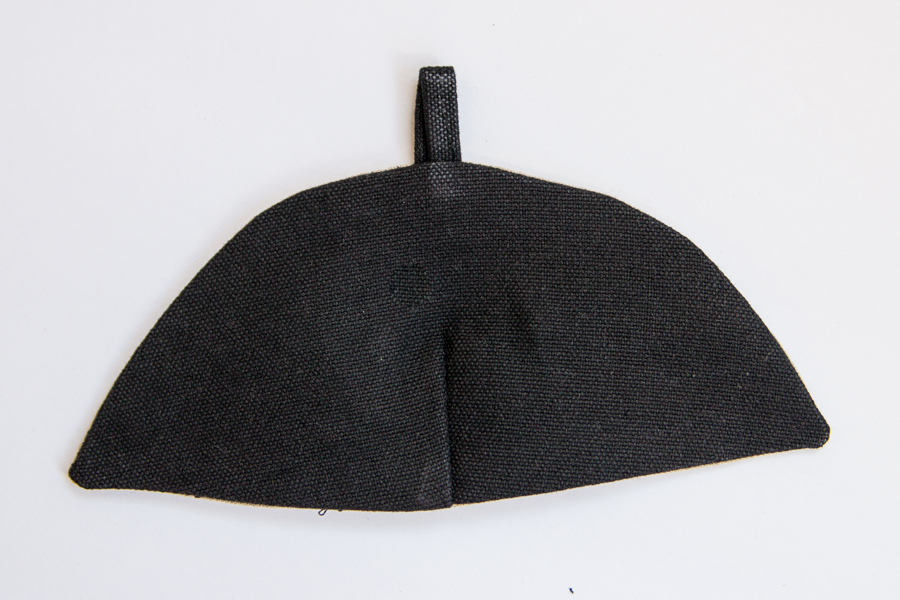
The pattern pieces you are given with the soles are a great starting point to create the look you want. I knew that I wanted the the end of the toe to be open without all of my toes showing. So I actually held the pattern piece up to my foot to get an idea of where to cut the pattern piece off and marked that with a pen. Then I made sure to add the 3/8″ seam allowance back in so that when I sewed it to the lining it wouldn’t be too small.
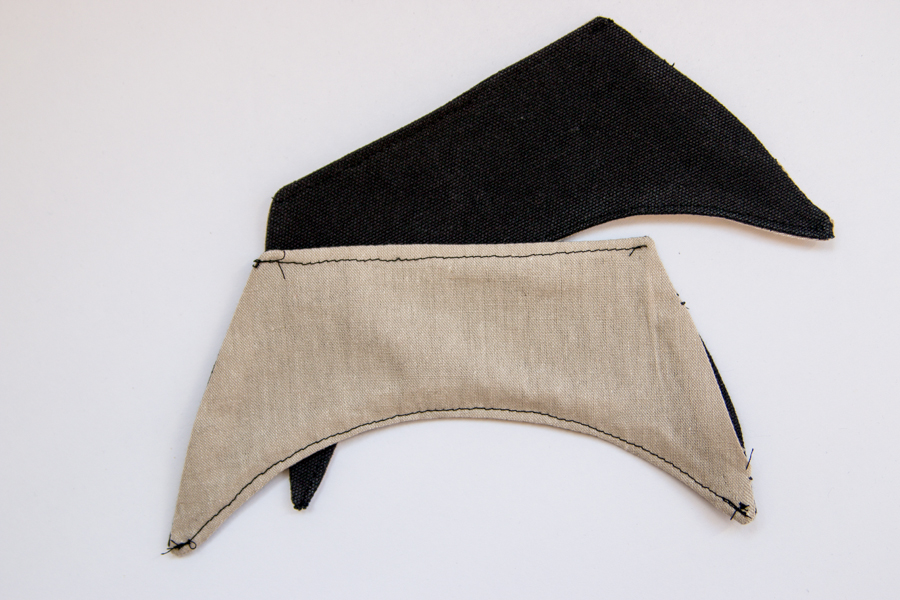
The instructions call for there to be interfacing on the pieces, but since I was working with canvas I omitted it so they wouldn’t be too stiff.
The only other change I made to the front pieces of the shoes was to topstitch the curve as well as the new toe opening, since that edge wouldn’t be enclosed with the blanket stitch.
For the back shoe piece I needed to create a loop for the straps to go through. Since I was going to be making the straps anyways I just used a piece of the strap for the loop. When sewing the heel piece together I just sandwiched the loop between the main and lining fabric and sew it together as instructed.
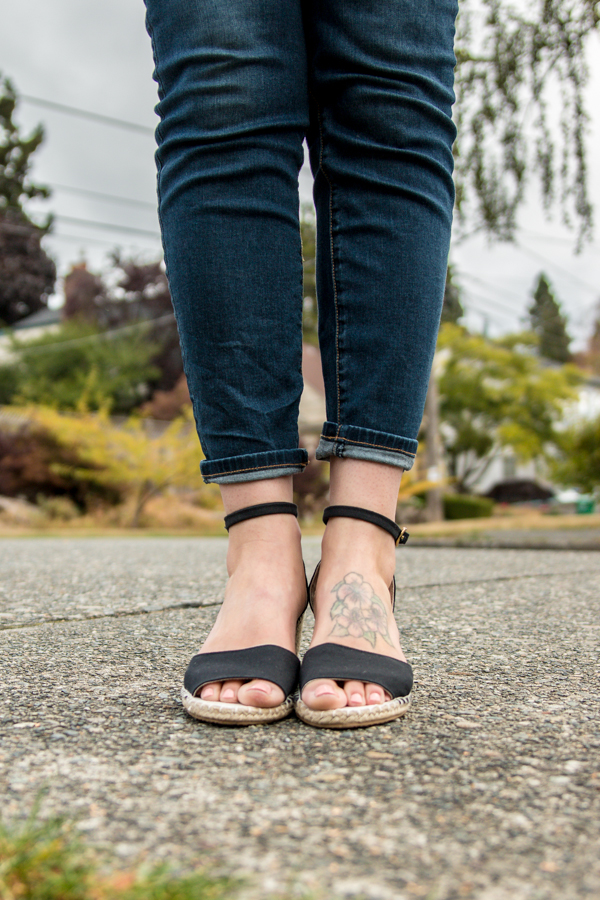
All that was left to do was pin the pieces to the sole as the instructions laid out and start doing a blanket stitch around the shoe.
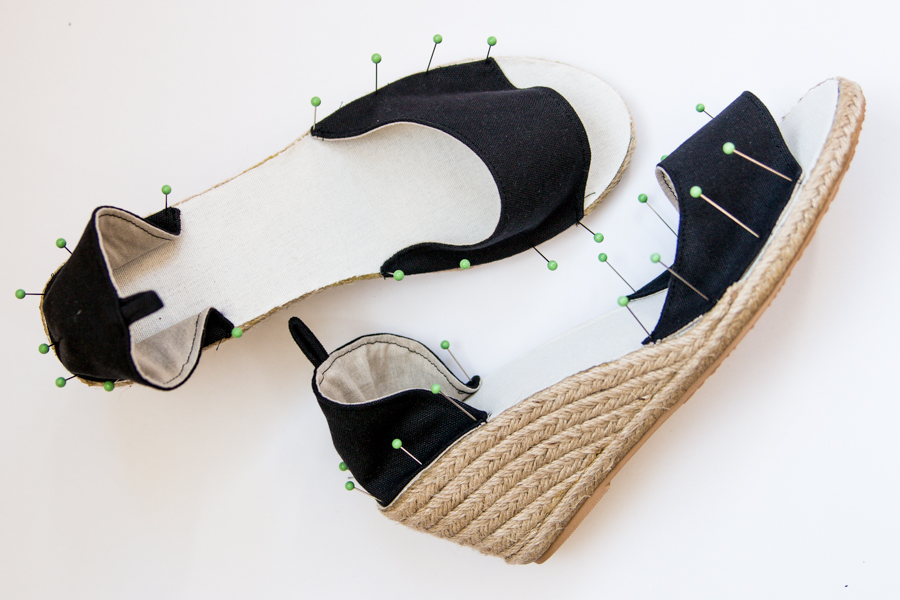
I will worn you though, if you try to do it all in one evening like me, you will end up with a sore thumb. But it is so worth it when you get to slip these bad boys onto your feet before going to bed.
This really was a fun project to tackle and such a great shoe to now have in my collection. I highly recommend giving these kits a try, you won’t be disappointed. Be sure to keep an eye out for the wedge kits to be added to the A Happy Stitch shop. I will be sure to update the blog post when they are available.
*I was given the espadrille kit in exchange for for participating in this blog tour. All opinions are my own.
Really cute- great outfit!
Very cute shoes,
Kimberly! The whole outfit is darling!
These came out so well! How comfortable are they?
The whole outfit is gorgeous. Love the shoes and love the top. I would love to make the top also.