Disclosure: I was provided the pattern and fabric for free but all opinions are my own.
Matching family pajamas is one of my favourite parts of the holidays. For many years I made matching pajamas for all of my nieces and nephews, but when it got to be something like 14 pairs ranging in size from baby to teenager I decided I just couldn’t do it anymore so I focused on just my little family.
When Audrey of Project Run + Play reached out to me to join the Pajama Party I was in immediately, I don’t sew for my kids very often so any chance to not only sew for them but to also match, I will take. I don’t know how many more years they will willingly match me so I am going to enjoy it while I can.
Patterns:
I immediately started thinking about patterns that would work for both my kids and something I could create with my patterns for myself. After checking out all the patterns in the Project Run + Play shop I saw the winner in the Seeds pattern by Sew Pony. The basics of this pattern could be hacked to work for both Sophie and Benny and the change from woven to knit fabric was any easy change, considering I was making pajamas.
I love a good challenge so I decided to mash two of my patterns together to create a version of the Seeds pattern for myself. I settled on the Montlake tee and the Pagosa pants, a pattern I designed for Sew News, as my base. But in order for me to actually be able to step into them I needed the elements of one of my retreat patterns for the neckline.
Fabric:
Raspberry Creek Fabrics is one of the fabric sponsors for the Pajama Party so it was a perfect opportunity to try out some of their custom printed french terry since I had been eyeing it for a while. Diana and her team were so nice to send over 6 yards of this winter-themed french terry for our pajamas, it was just enough to make my family style pajama vision come to life.
Kids Pattern Hacking:
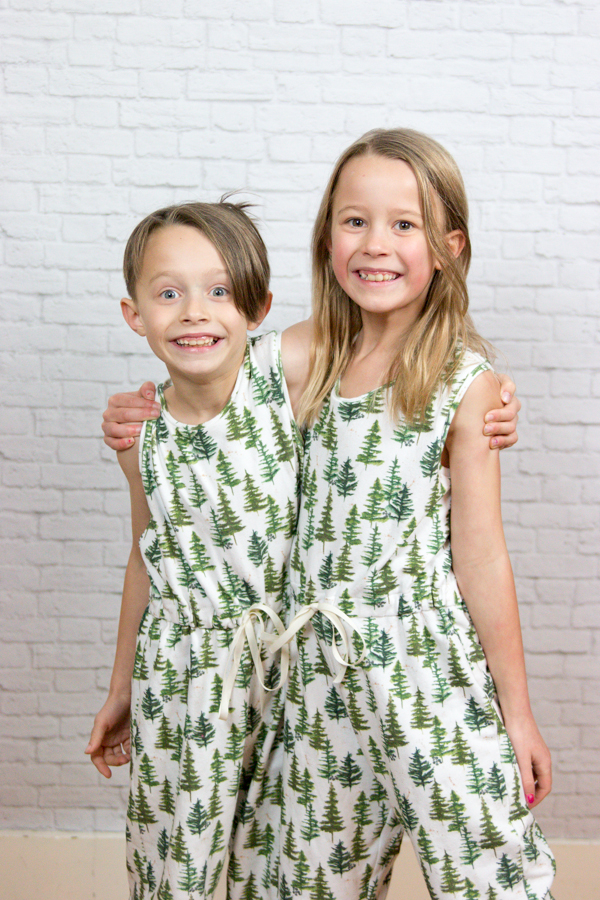
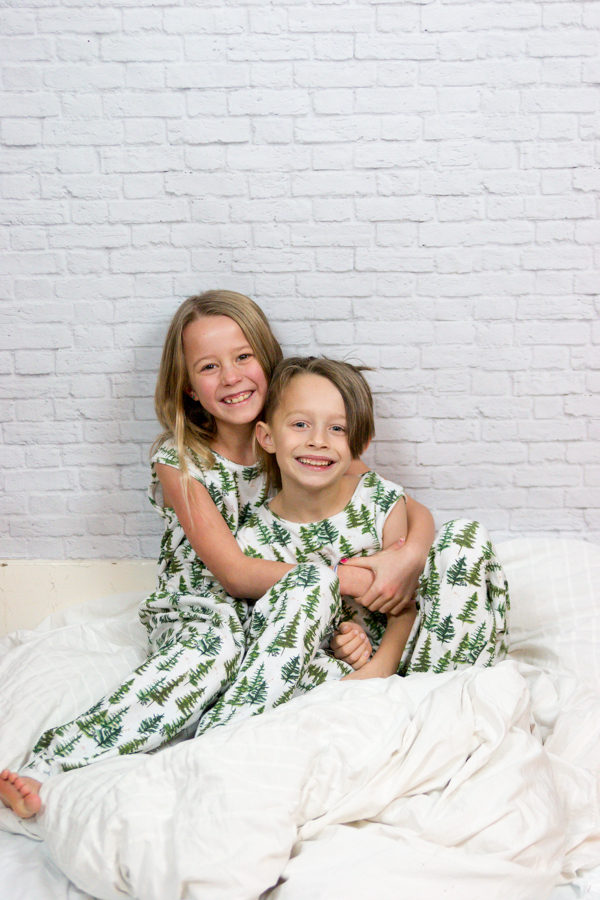
Armed with fabric and patterns I got started on the kid’s pajamas first. My kids are pretty close to the same size so I decided to just cut two pairs in the size 7 knowing that it would be a little big on Benny but comfy regardless. I made a handful of changes to the pattern most I would repeat and one big one I would change for another pair.
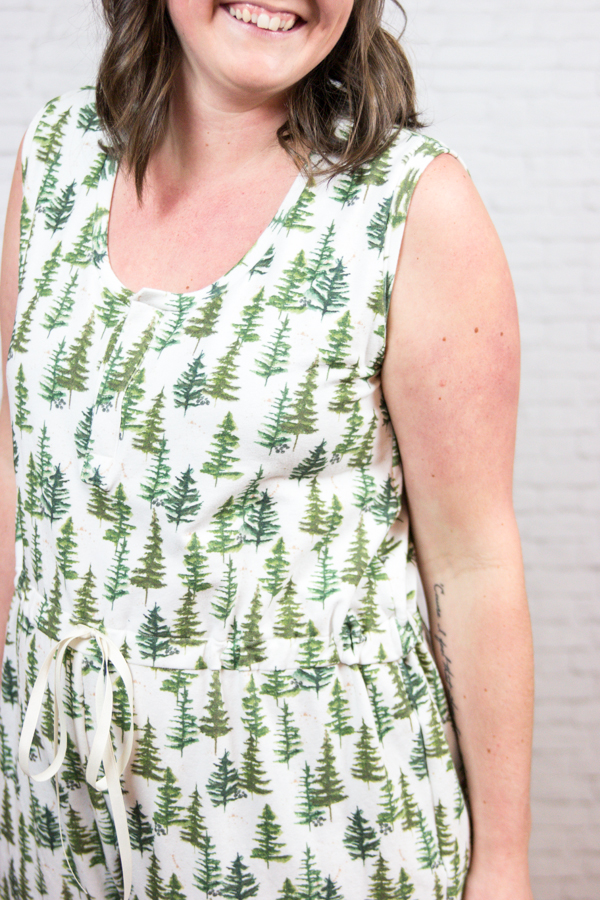
To start I opted to just leave off the waistband and create a casing when sewing the top and bottom together. This step meant sewing the top and bottom together with a 1-inch seam allowance, pressing the seam allowance towards the top, and stitching down along the outside edge of the seam allowance. If you are adding the elastic as the pattern calls for you would leave an opening and feed the elastic through. I went for a simple ribbon tie instead of elastic and fed it through two buttonholes on the front.

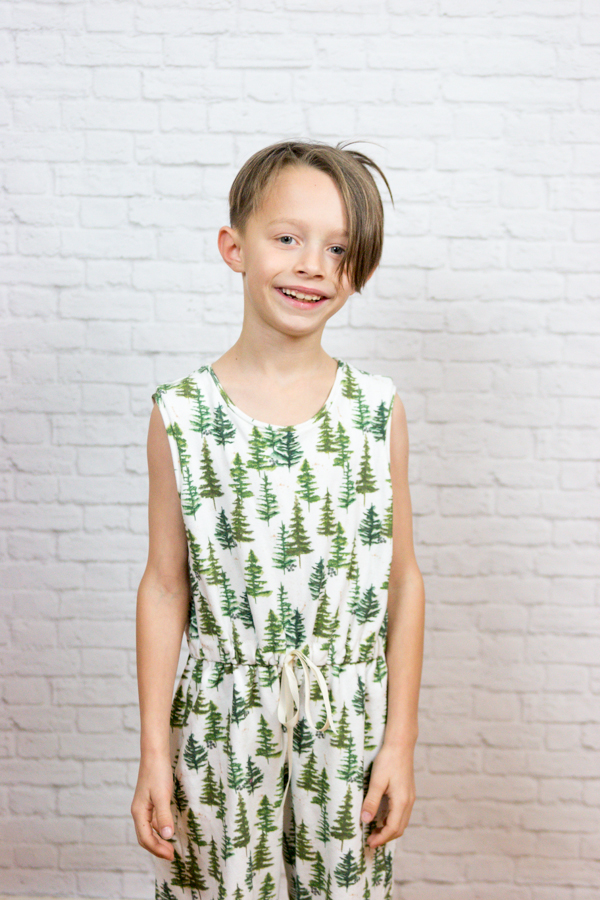
When sewing the top I decided to go for simple lines so I measured the neckline and armholes and cut binding for them. I was very close to drafting sleeves but went for sleeveless since they tend to get warm when they sleep anyways. The one change I made that didn’t quite pan out was leaving off the front placket, my kids are tiny and I thought they could still easily squeeze through the neckline. That was definitely not the case, I should have either deepened the neckline curve or added a henley placket like I did for my jumpsuit. I plan to take the neckband off and add a henley placket to make getting in and out of the jumpsuit easier.
Even with the challenge of getting in and out of them my kids happily wear them all the time since sewing and I know they will get even more wear, if that’s even possible, once I add the placket.
Tee and Pants into Jumpsuit:
My pajama hack was pretty straight forward to sew since I used the same basic construction methods from the kids’ pattern. Starting with the Montlake tee I knew I needed to shorten the tee quite a bit. I went back to my Montlake peplum hack from a few years ago to determine how long I should make the top of the jumpsuit and adjusted the pattern pieces. The only other change I made prior to sewing was to make sure the bottom edge of the tee was the same size as the bottom pieces. This doesn’t have to be exact since it is knit and will be gathered with a ribbon, but getting close is best.
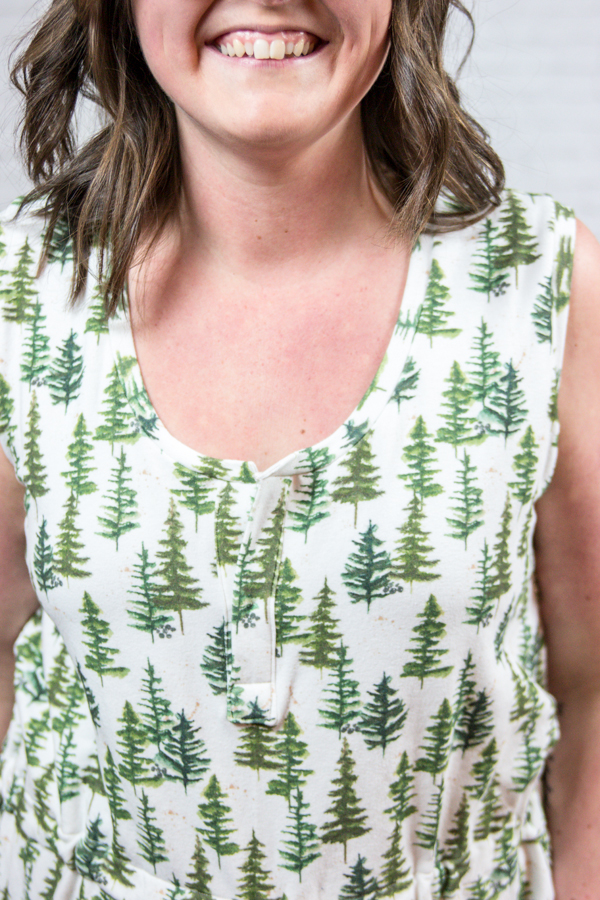
Once I had sewn the top together I added bands to the armhole and then a henley placket to the front neckline so that I could actually get in and out of the jumpsuit, there is no way my bum would fit through the neckline as is. The henley placket is from a soon to be released pattern I created for my Makers Retreat in November, so you get a sneak peek at an element of that pattern.
The Pagosa pants from Sew News were a great starting point for the pants part of the jumpsuit but I knew I wanted them to be longer and a more tapered leg. Since I created the pattern I could have done it much more officially but got a little lazy since the pattern pieces were all ready to go. Instead, I marked a point 1.5″ in from both sides of the bottom hem and adjusted the curve, I made this change to both the front and back leg pieces. I also ended up adding 6″ in total length.
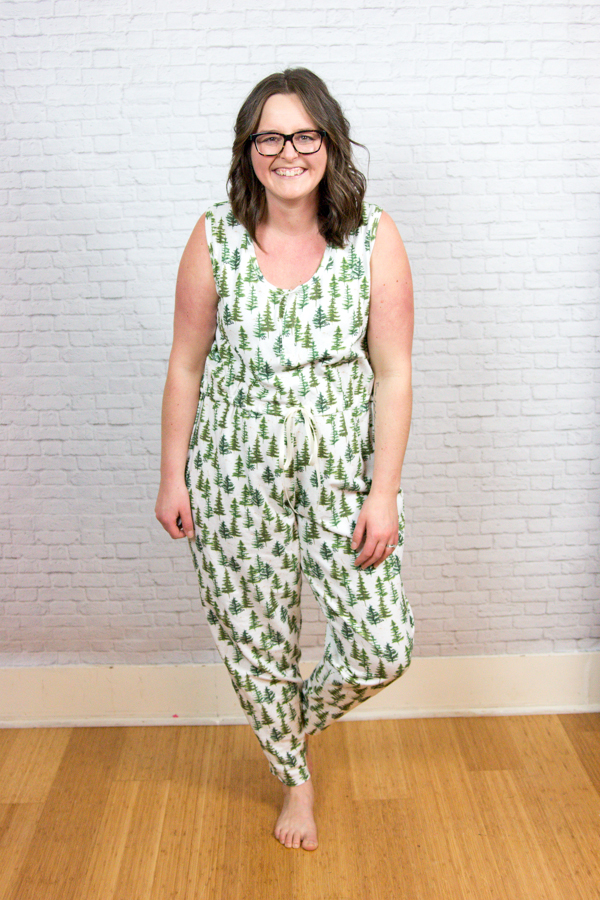
Once I had the top and bottom just how I wanted them I used the same method of construction as the kid’s pajamas to sew them together. Since I left the waistband off of the pants, the only change I would make for the next pair would be to add a couple of inches of length to the rise of the pants. It fits great but the waist doesn’t quite hit me where I wanted it to.
The best part of pattern hacking is knowing that it is always a learning experience, everything might not have been perfect, but the end result was a great success and I learned something for next time. I also love the thrill of taking patterns that weren’t intended for one thing and making them something new. As soon as you get pattern hacking down there is no end to your creativity with great patterns as your base.

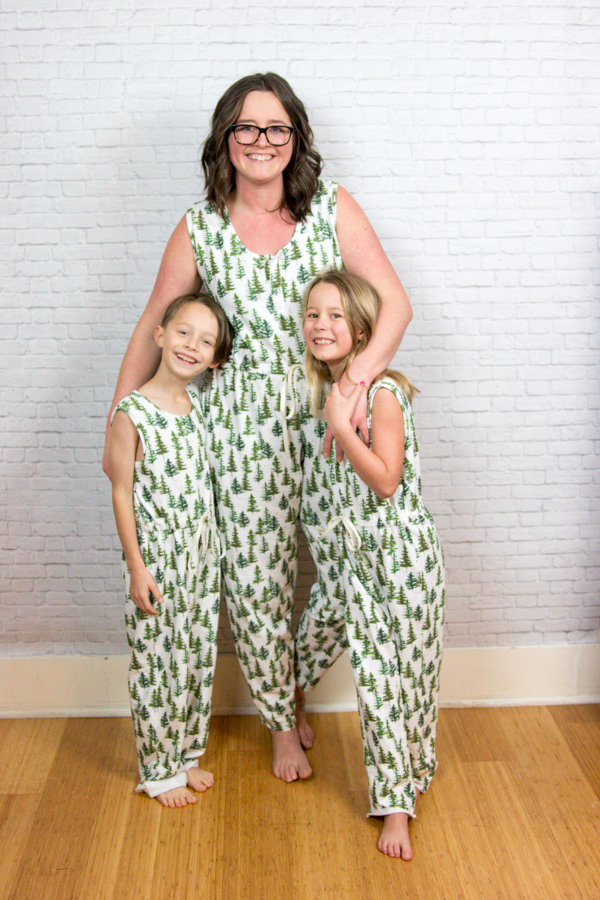
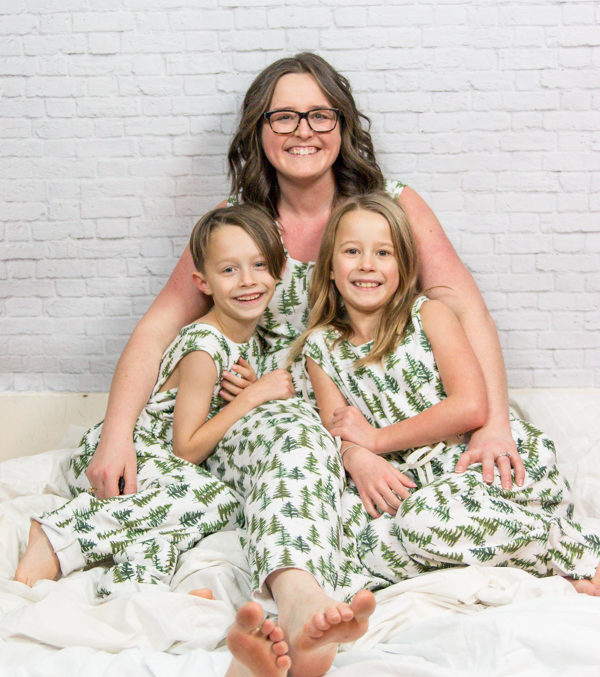
Now the kids and I have matching pajamas to lounge around the house in, and I couldn’t be happier about the whole situation.