
When I was writing the post last week on letting go of my insecurities and rocking a bikini this summer it really got me thinking about what I want this little corner of the internet to be. I want you to look at my posts and pictures and see the real me. The stay at home mom to 2 kids who is juggling preschool, dance, soccer, running a business and sometimes cleaning the house. The person who drinks way too much coffee and has just as many sewing successes as flops.
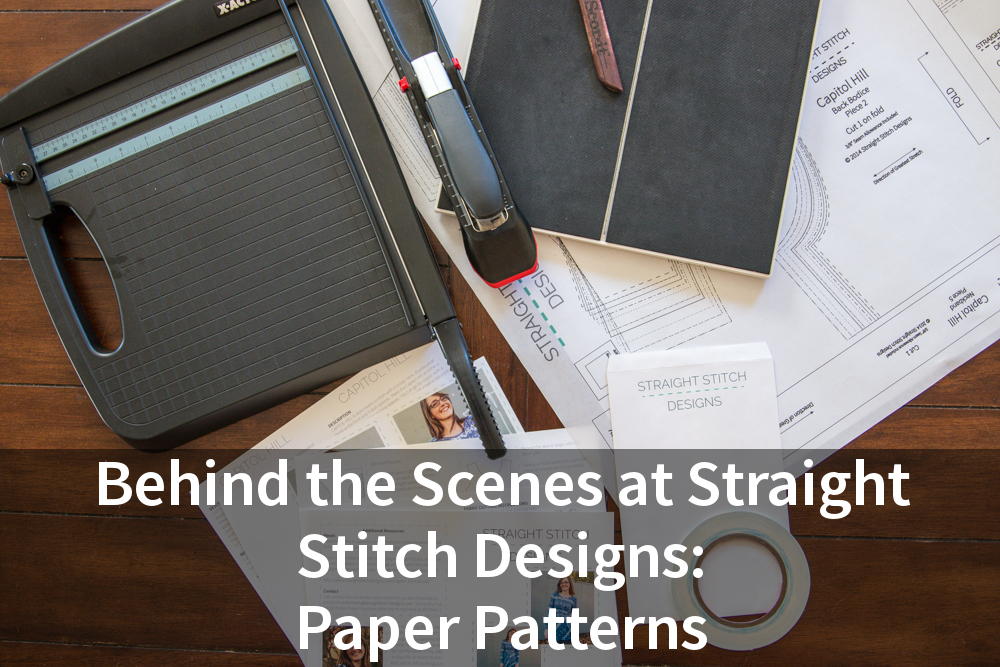
Because I want everyone who reads to feel like we are friends sitting down with coffee to chat I thought I would be fun to start a new series on the blog called Behind the Scenes at Straight Stitch Designs. Every month I will show you something you might not know about me and the business, giving you an insider view of how I do things. I am going to start this month off with a look at my paper patterns.

Back when I decided to start offering paper patterns it was such a daunting task both in the logistics of getting everything done but also in the amount of money that is required to get all of my patterns printed. I knew that going to a commercial printer and getting a 1000 patterns printed in each of the three I had at the time was far beyond what I was capable. Also, who really has the space to store 3000 paper patterns, I know I sure do not, and how was I even to know how they would do. Would I be left with 900 of each when all was said and done. Needless to say there were so many scenarios swirling around in my head.
After going back and forth with Sean on what the best option would be for me and my business right now we finally decided it made the most sense for me to handle patterns with a more print on demand model. While a bit more money per pattern and more time for me to put them together I knew it would give me a chance to gauge demand before committing to a large printing run.
Once that decision was made it was time to go large format printer shopping. We looked at 24″ and 36″ as well as new and used but when all was said and done and considering the space it would be going (the laundry room) we went for the 24″ HP Designjet T120 and I have to say it has definitely been the right decision.

Once the printer was all sorted the rest was easy peasy.
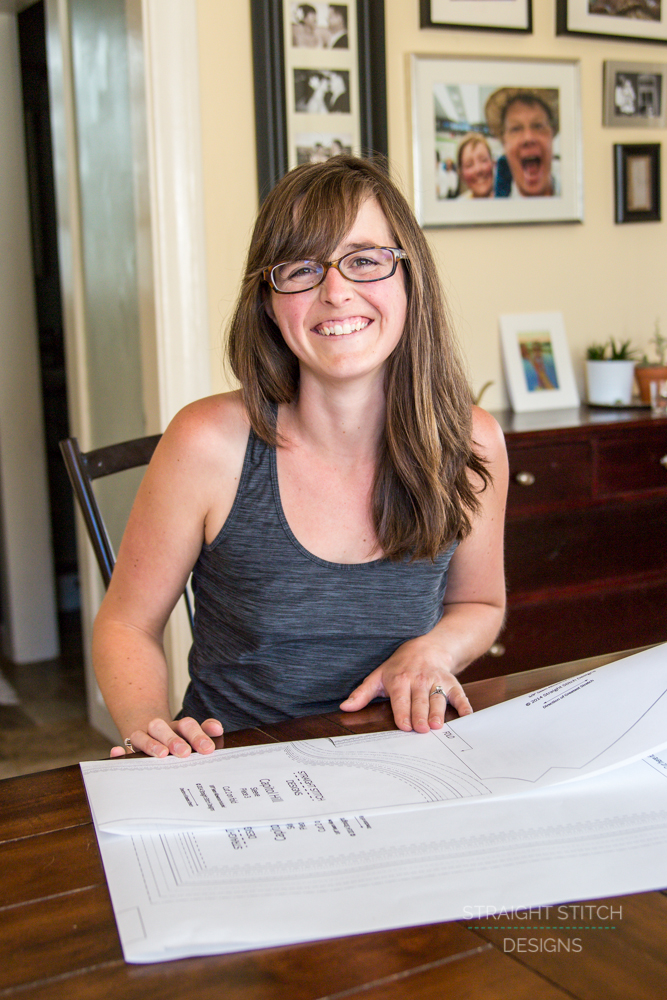
So without further ado, here is what the process is to put together my paper patterns. Other than helpers here and there, I handle all assembly of my paper patterns, so if you buy one from either my shop or a brick and mortar shop in your area I have personally made that pattern for you.
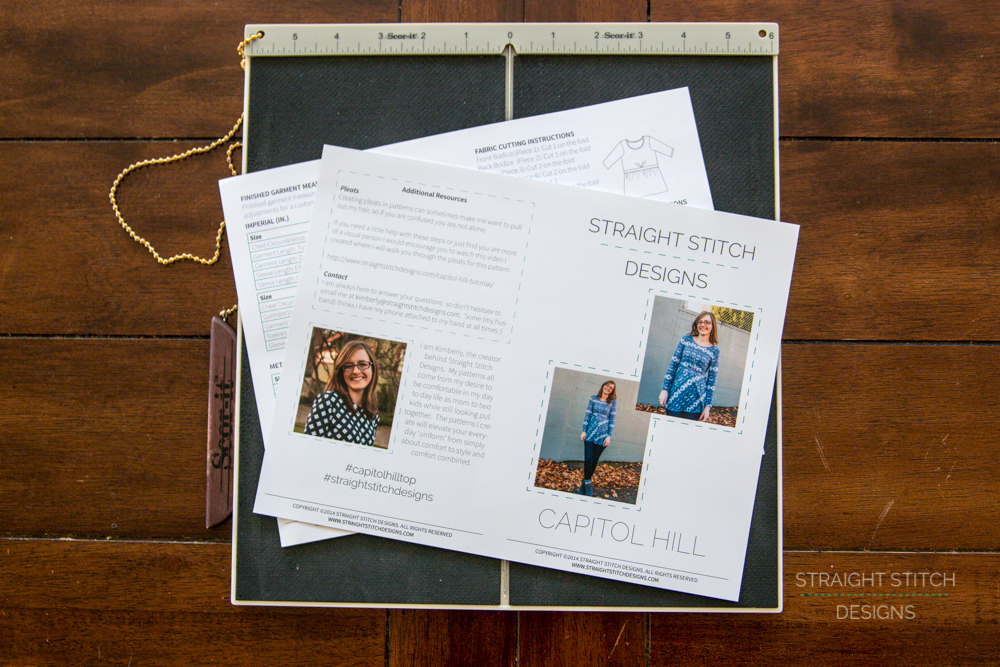
The first step in my patterns is the pattern envelope, which might be my favourite part of the paper patterns. I run each envelope through my printer to put the logo on the top. This step is pretty quick, as long as my printer cooperates.

For the front of each pattern envelope there is a picture of the pattern on me. The back has a description, recommended fabrics, size chart and a UPC code.

For each page that is printed it is done so in sets of two, so before putting them onto the envelopes I have to cut the pages apart. I got an old school style of paper cutter so I could cut a lot of pages at a time. Prior to this I was using a scrapbook cutter which took a bunch more time. The cutting process is nice because it takes very little brain power so I can watch a show and cut at the same time and only sometimes mess it up 🙂

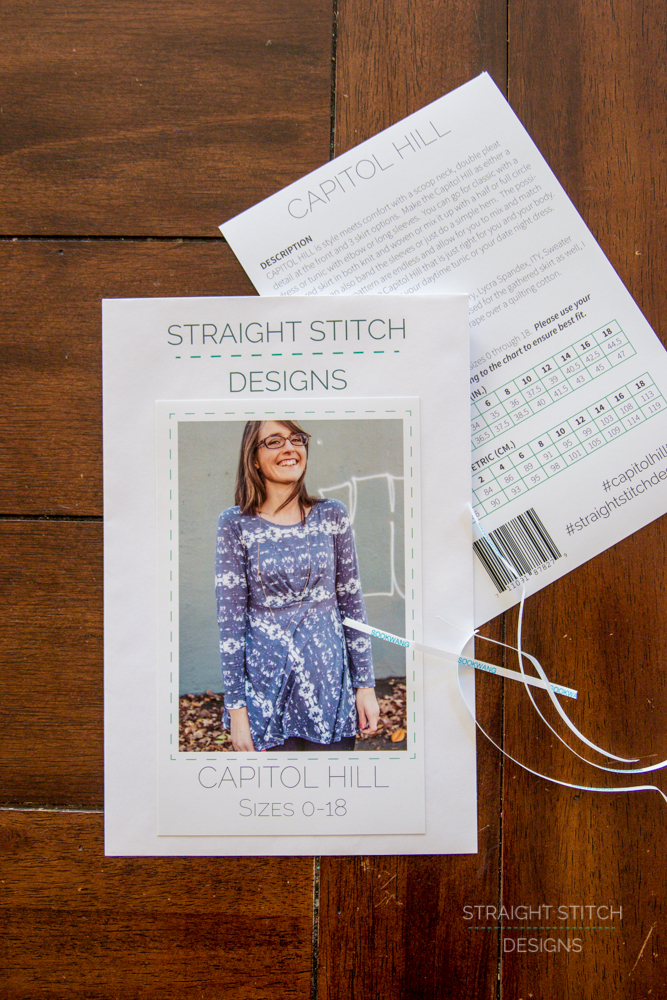
When designing the look of my paper patterns I knew I wanted something that looked like it was made by hand, and these envelopes achieved that look completely. They are exactly what I envisioned and just a little bit different from other paper patterns out there.
The front and backs of the pattern envelope are attached using Scor Tape on all four sides. While this step is a bit tedious it insures they stay in place when handling, I was scared that they may fall off after a little bit of use, so I went heavy duty with the tape.
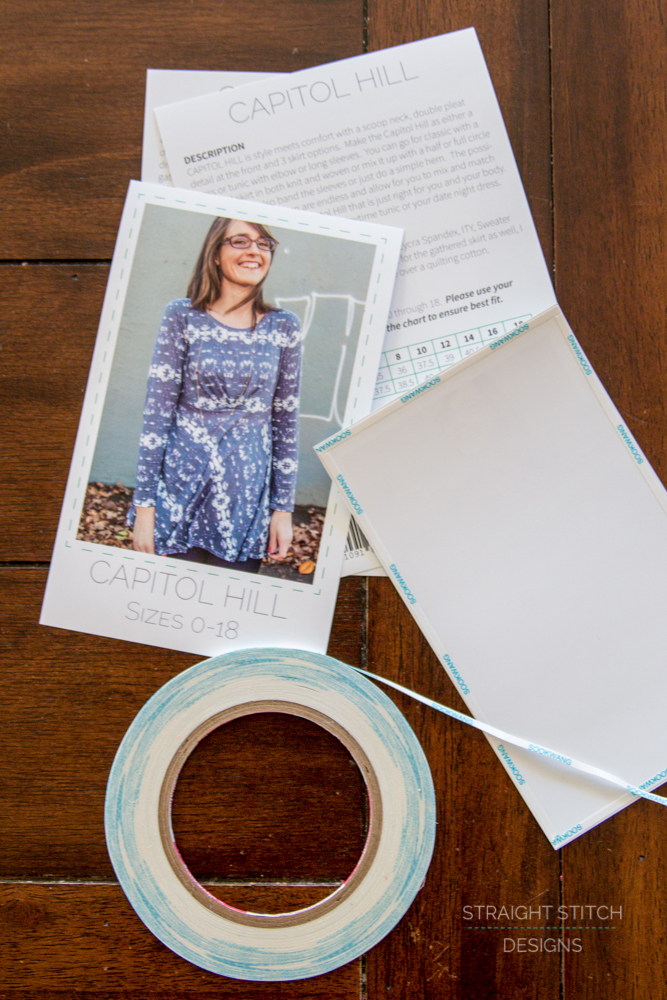
Just peel and stick the front and back on and the pattern envelope is complete.
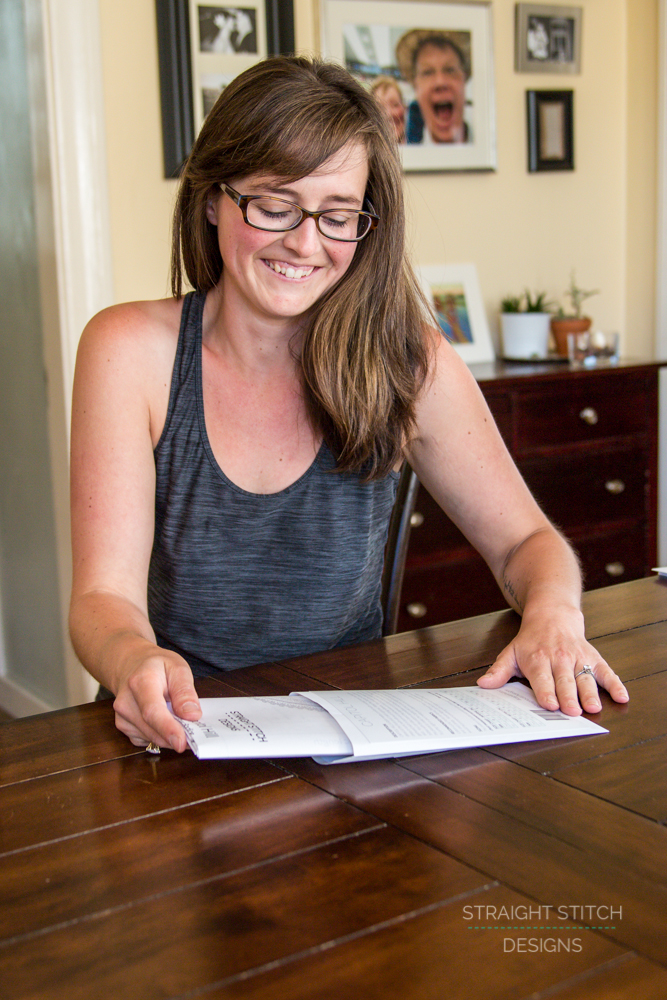
I then move onto the pattern booklets. Now here is a step in the process that I hope to eventually outsource to cut down on my labour but until then this method works great for me.
I get all of the pattern booklets printed as just double sided colour copies and then do the folding myself. Each cover is folded using a super cool Scor it I borrowed from my sister.
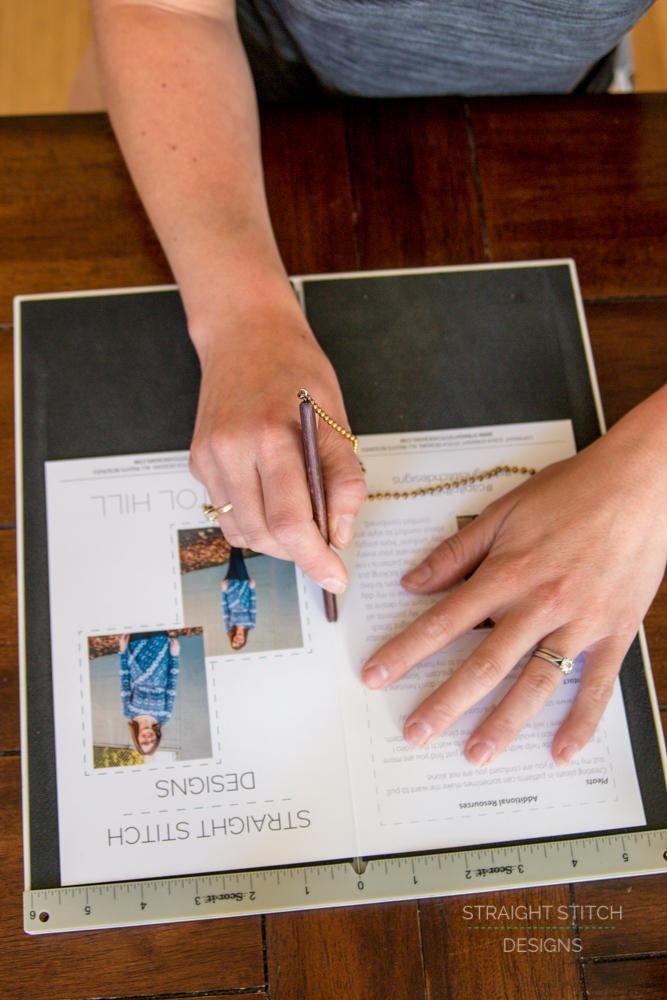
Once it’s been creased I then fold it over and flatten the fold giving it a really nice crease.
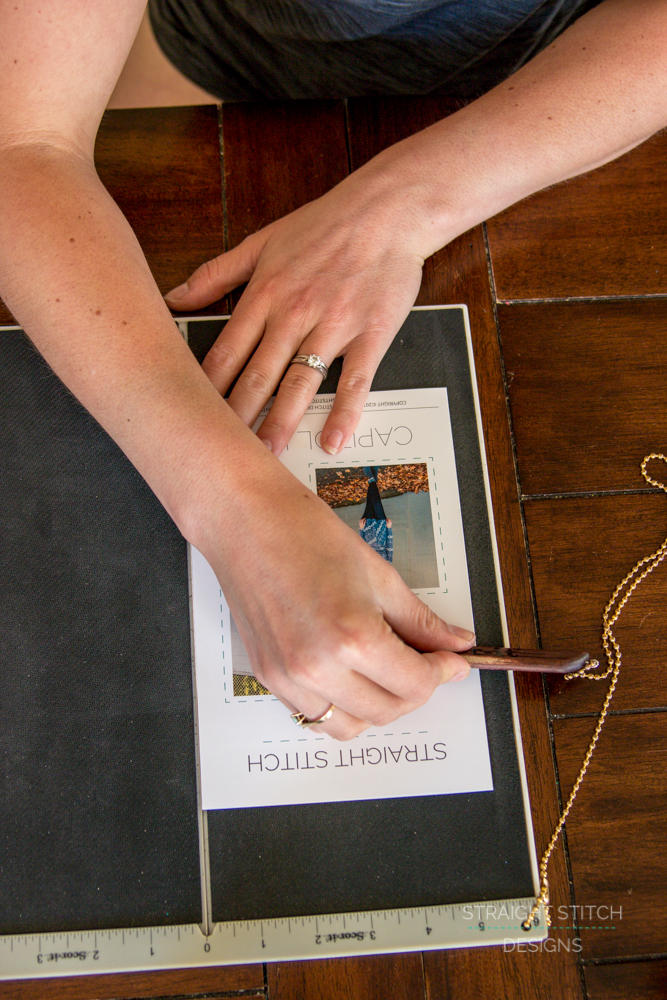
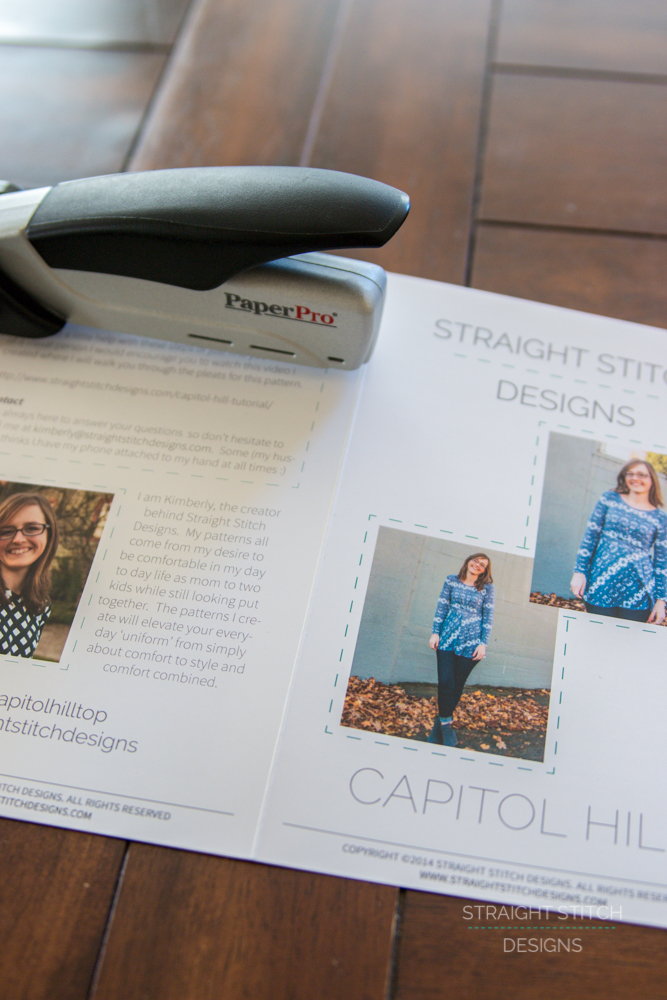
I just repeat the process with the inside pages and then I am all ready to staple it together. Two staples per booklet and its time to move onto the last element to paper patterns, the pattern pieces.
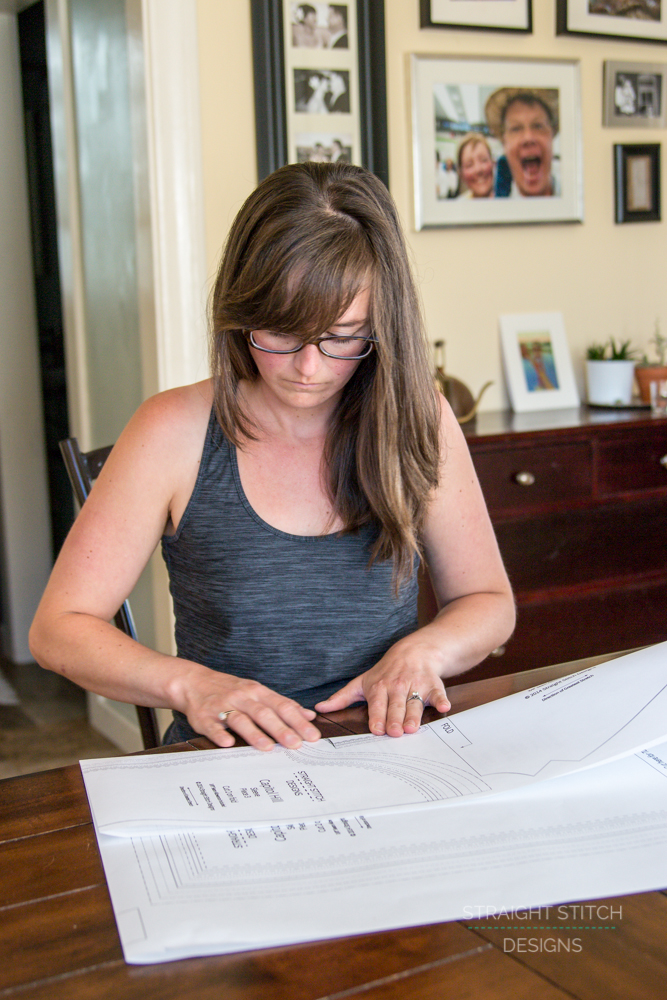
In order to not get held up while waiting for the pattern pieces to print I typically start them when I start on the envelopes so that by the time I actually get to this step I have a stack of pattern pieces waiting for me to fold. I throw a show on my iPad and I start folding and folding and folding. Because I have done it so much I know how each pattern is folded so it fits in the pattern envelope, so that luckily speeds the process up.
Now that all parts of the pattern have been done the last thing to do is stuff it all in the envelope and send it out.
Phew…you made it through the process for putting one paper pattern together. Typically I do these in bunches so I may do one night where all I do is the pattern envelopes and another night where I do the booklets and so on.
While it is not the quickest process, I am willing to do the work because I love the way that the patterns turn out, they are everything I wanted.
I hope you enjoyed this behind the scenes look at how I make all my paper patterns. Make sure to come back next month for another instalment of Behind the Scenes at Straight Stitch Designs.
Love your post this week. Having been one of your helper I can say you have it down to a science. I also love the look of the patterns and I think your extra special touches make them stand out against any pattern on the market!