

 I am constantly looking for projects that will use up my ever growing stash of fabric scraps. For some reason I can never quite get rid of fabric even if I have less than a few square inches because you never know when you need a scrap of fabric. This is one of the projects that is easy to make and uses some of those small scraps of fabric you have lying around.
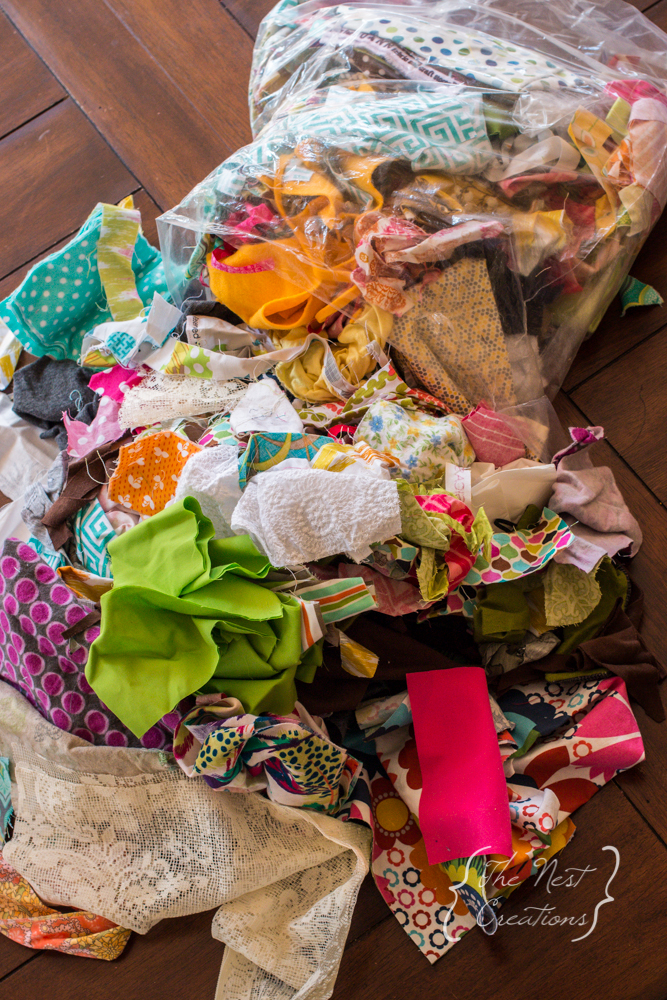
For a few years I have been thinking about making a fabric memory game for my kiddos but never seemed to sit down to do it, thankfully that all changed today.
The kids preschool is having an auction next week and Sophie’s class is putting together a basket for raining day activities and I thought a fabric memory game would be perfect. Because felt is so much easier to work with for the frame part of the pieces I grabbed some wool felt in a great olive colour I have and got to work.
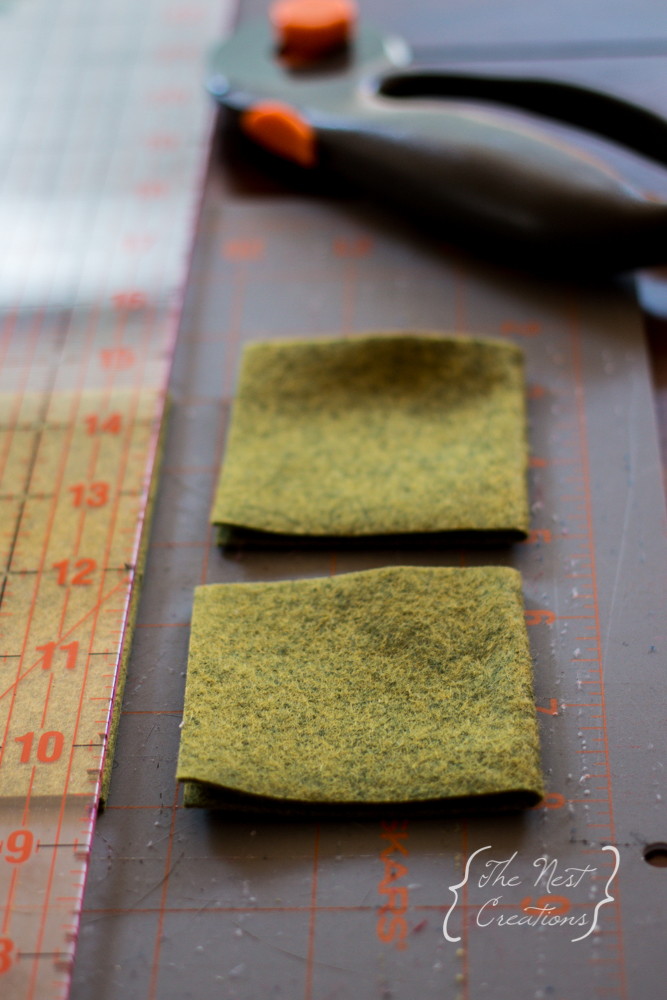
The first step was to determine what size I wanted the finished squares to be. I settled on 2.5 inch squares for the frames with a 1 inch square for the fabric piece in the center. Since you will just be doing a top stitch on the outside you don’t really need to account for a seam allowance for the frame pieces. When deciding how many squares to cut take the total number of pairs you would like and multiply by 4. So for my game I wanted 7 fabric pairs so I cut 28 felt squares.
 Once I had all of the felt pieces cuts I needed to cut out the center from all of the front pieces. What I found to work best was to find the center of the first square and measure 1/2 inch in each direction and mark with your chalk. Just cut on the chalk lines and then cut to connect your chalk lines resulting in a square.
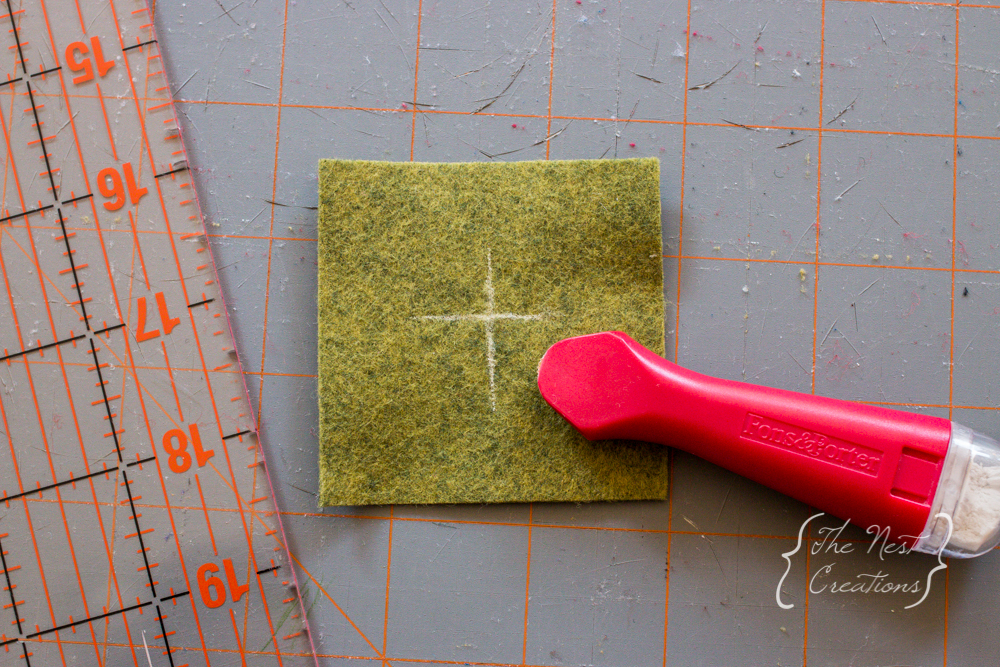
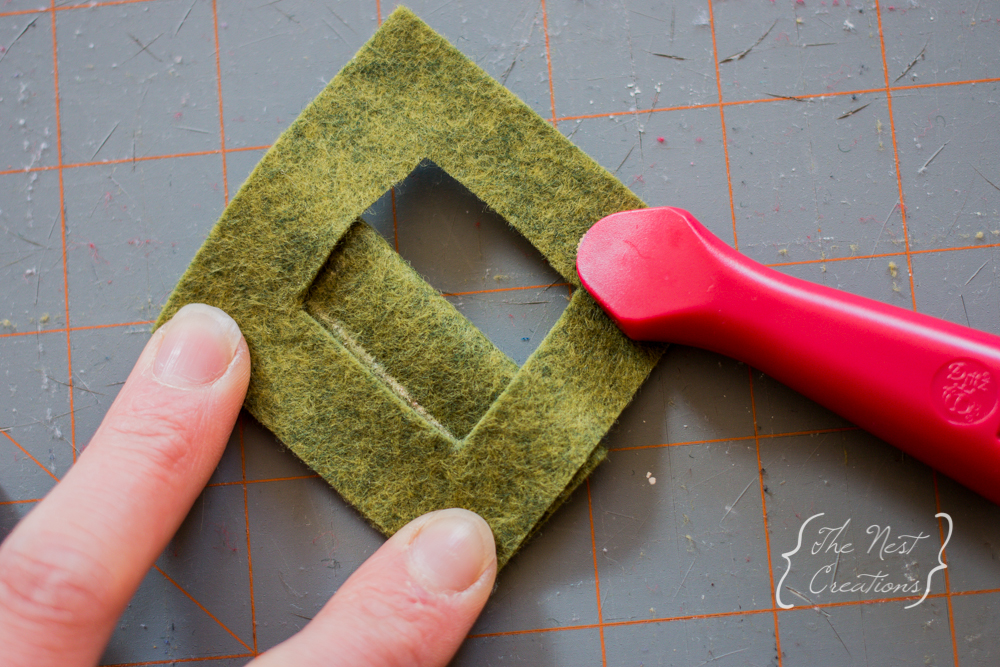
Once you had one felt square cut you could use it as a guide for cutting the rest. Just fold your next square in half and lay your template on top so you can make a chalk line where you need to cut on the fold. Repeat until you have cut a window out of half of your felt squares, in my case 14.
Now it is time to move onto the fabric pieces that will be sewn into the windows of the felt. Since they are 1 inch squares I decided to cut the fabric pieces 1 1/2 inch square.

I really appreciate when a fellow crafty person shows that not all of their projects turn out the way they intended. So here is the moment when I tell you that once I moved onto the next step I realized that my fabric squares didn’t allow for enough room to secure into place with a topstitch. Since I didn’t want to go back and recut all of the fabric squares I improvised by adding a little fabric glue on the areas that were very close to the edge. That should strengthen it up enough to make it last. Just remember when you are making them yourself make sure you cut the fabric squares at least 2 inches square.
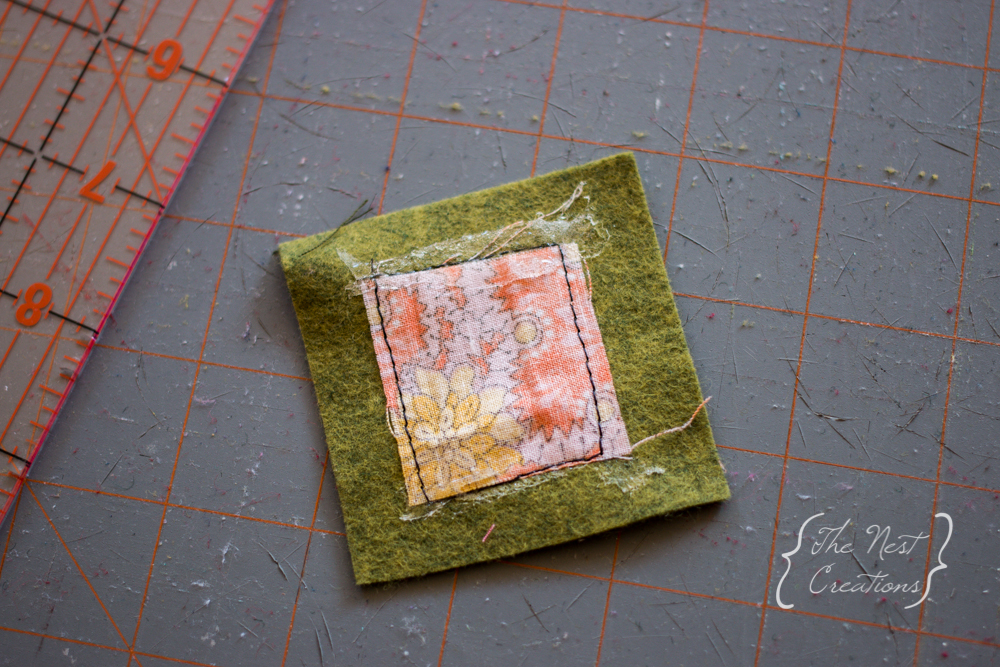
Once you have cut out the correct sized fabric pieces all you have to do is lay it behind the frame of your front piece and top stitch around the opening to secure the fabric.
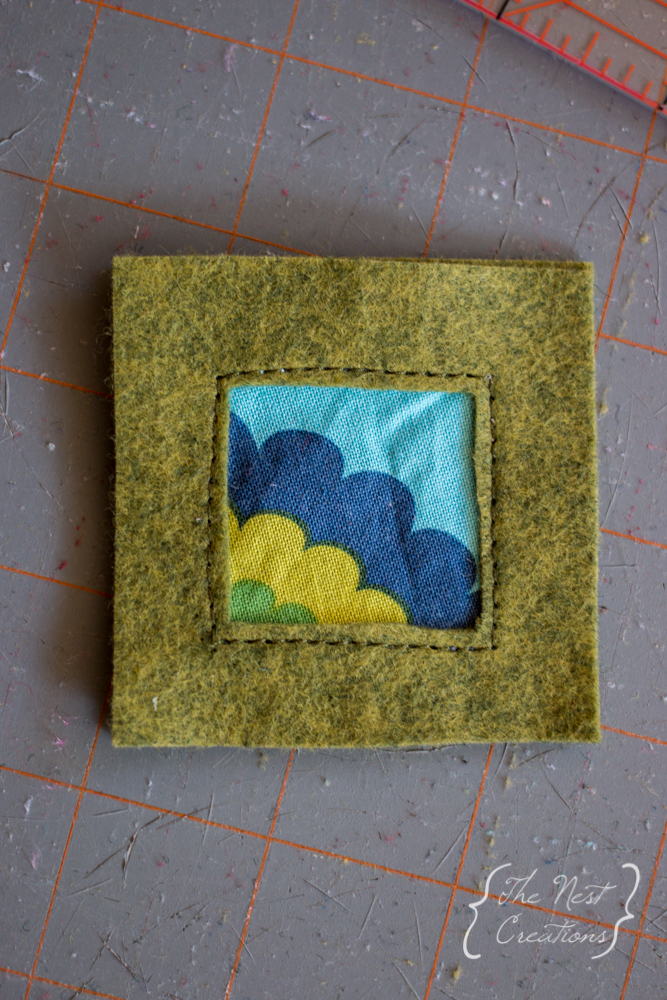 To finish up just match up your back piece and top stitch around the outside to secure the pieces together.
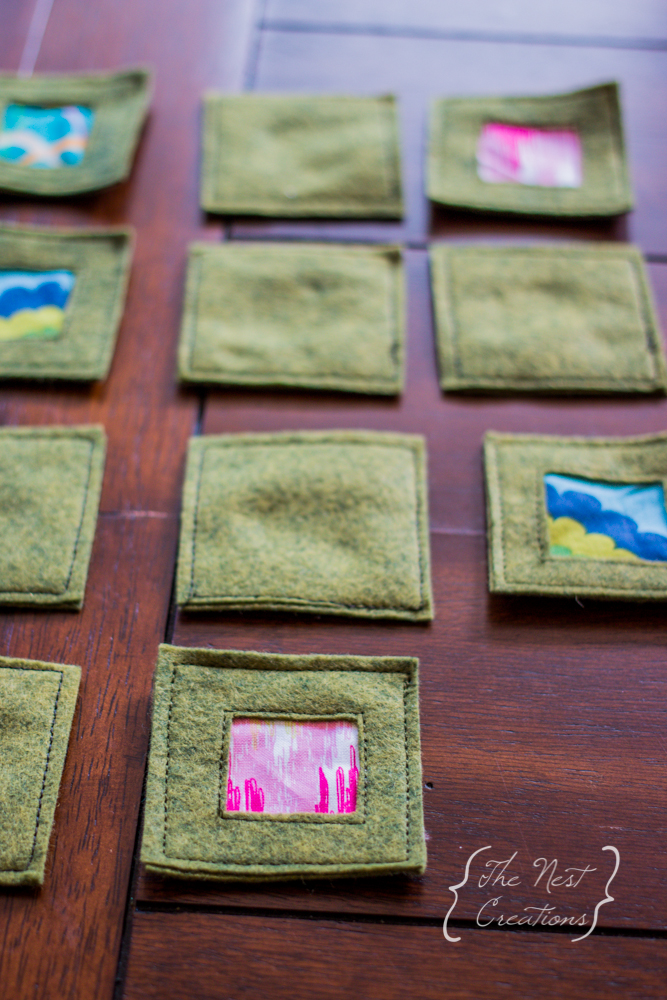 And just like that you have a fun felt & fabric memory game your kids will get lots of use out of.
Adorable! And perfect for those with two children where the younger one might take the pieces and chew on them. 😉
My daughter teaches 3rd grade, I’m going to make some of these for her kids 🙂