


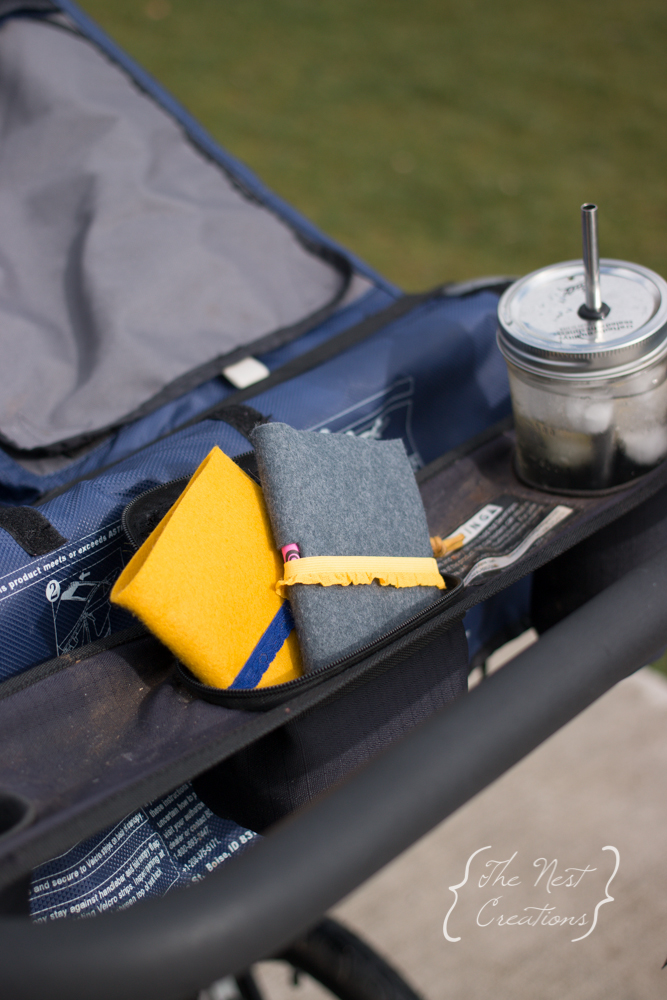
With children of any age, keeping them busy when there is any waiting involved can be a struggle at the best of times. Between doctors visits, ballet and preschool pickup my kiddos do a lot of waiting, so having something as a great fallback in my purse is what inspired me to make this Busy Pocket Coloring Set.
If your children are anything like mine they could draw a million pictures in a day, usually all for daddy when he gets home from work. So having a small pad and crayon is all they need to create their masterpieces while waiting. They are small enough to grab on your way out the door and throw into your purse or make a few and store some in your diaper bag or stroller. I love having one more thing in my mommy arsenal to help in those moments of waiting.
These little Busy Pockets are really easy to make and only take the few materials below. For the wool felt I chose the 35% wool felt because of the colour but the 20% would work great as well. This is a great project to use some of the fun fold over elastic they sell. I am always looking for projects to use my stash of fold over elastic on and this is a great way to had a pop of colour to your Busy Pocket. Go grab your materials and lets make some Busy Pockets for your kiddos.
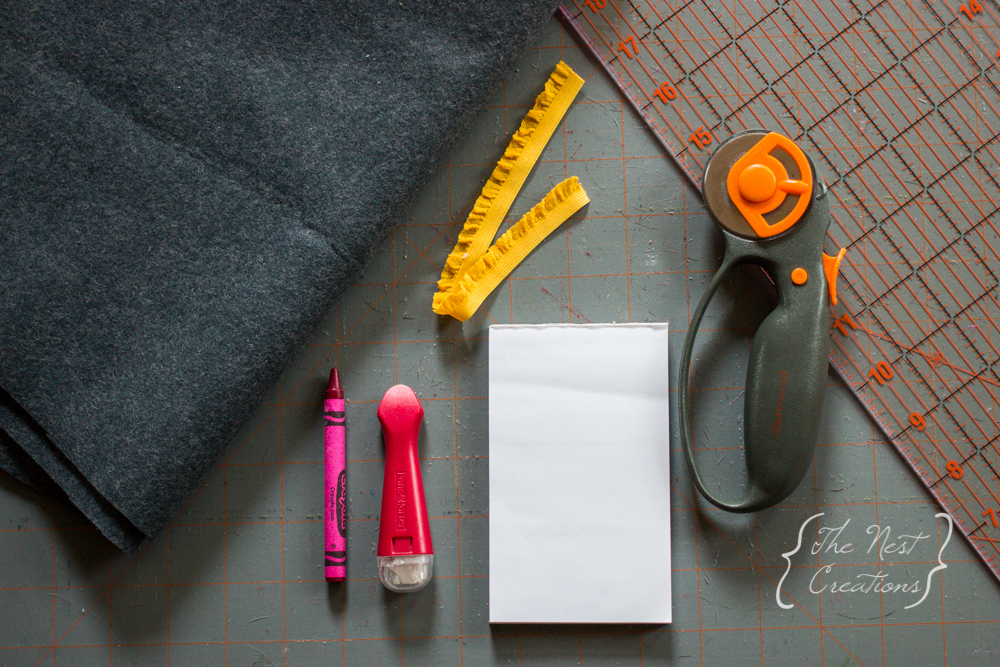
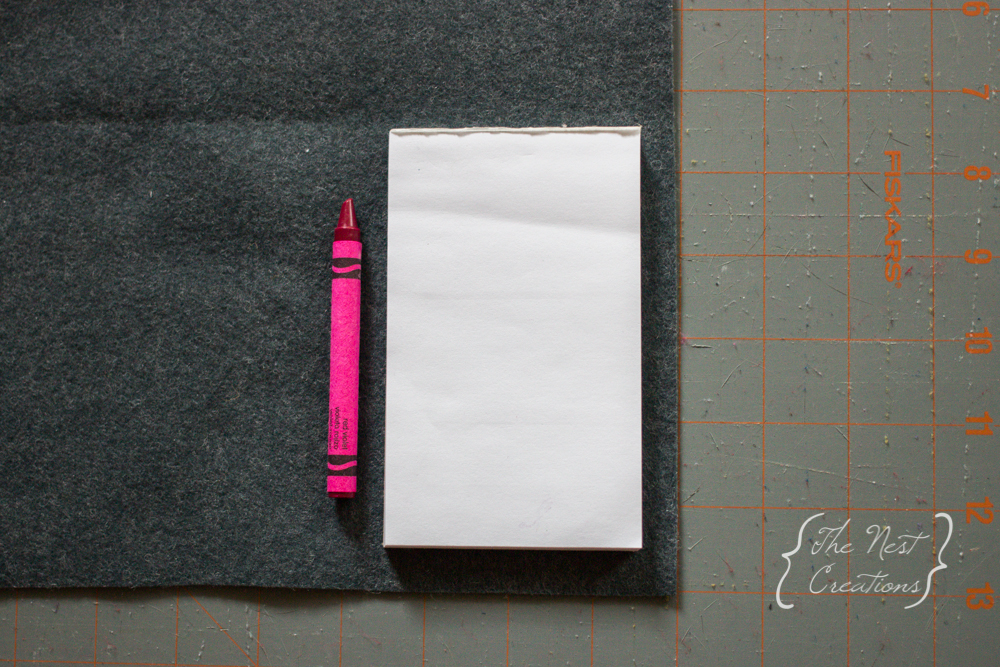
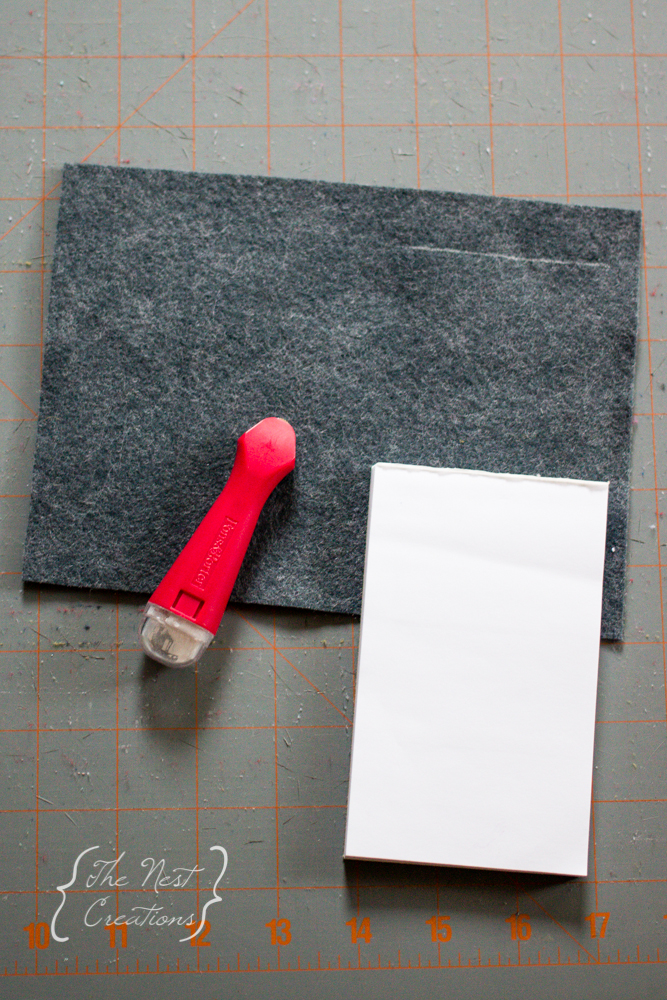
The first step is to lay out your pad and crayon on the felt to figure out the size of felt you need. Since felt doesn’t fray you won’t need to hem the edges, so allowing for 1/4-1/2 inch around the pad works great.
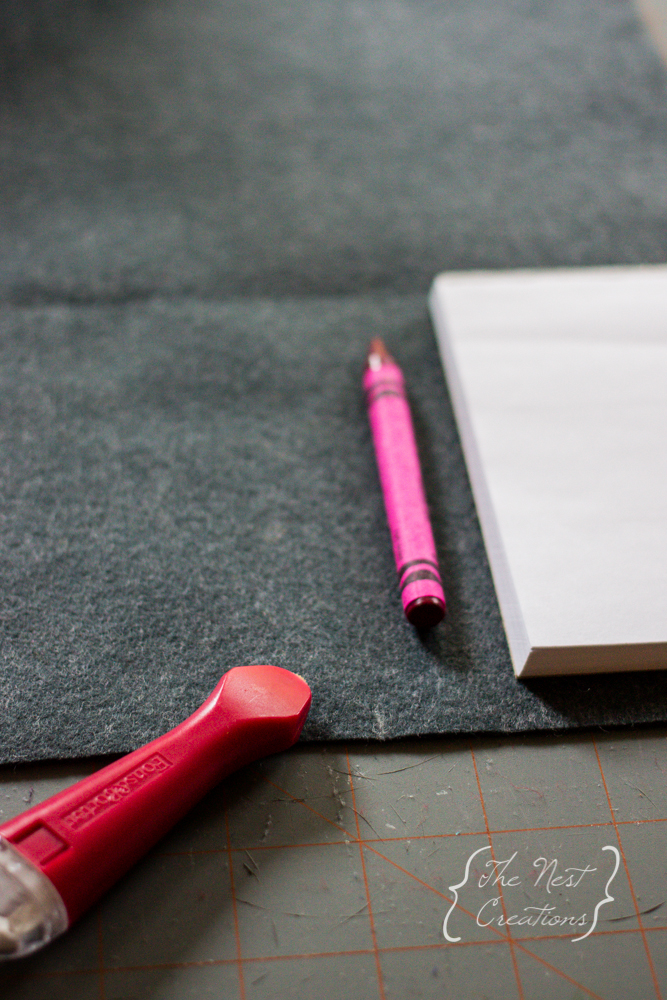
Once you have it laid out grab your chalk marker and mark just to the left of the crayon, this is going to be your folding point. I always find that when cutting things like this if I can do it on the fold it’s easier, but if you would prefer not to just measure from the edge to your chalk mark and double it.
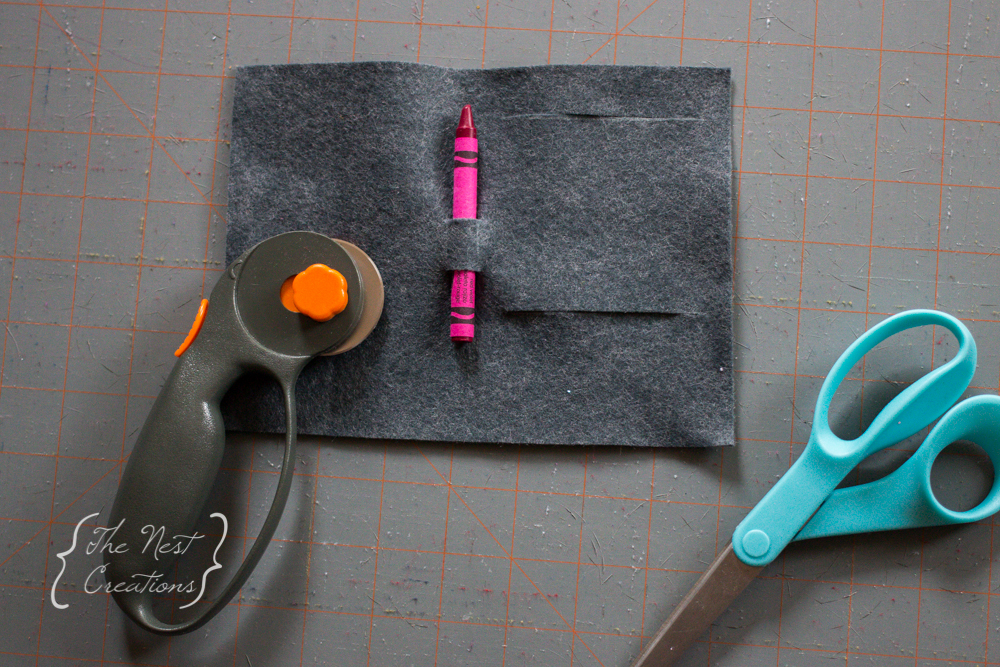
Now that you have your piece cut out take your pad and mark 3/4 of an inch from the top and then 3/4 of the way down for the back of the pad to go through. This doesn’t have to be exact since in the next step when cutting you an make little changes to it for the pad to fit.
Grab your rotary cutter and scissors and cut along the two chalk lines you made for the pad. When you get to the ends and any small cuts to make the pad fit use your scissors since the rotary cutter is harder to use in small spaces. If you don’t have a rotary cutter this entire step can be done with scissors. Once you have the slits cut for the pad cut two small slits for your crayon. I find I make them small and work up because you want the crayon to be snug so the crayon stays in because if you cut too big at first you can’t go back, something I learned the hard way on my first attempt at this.
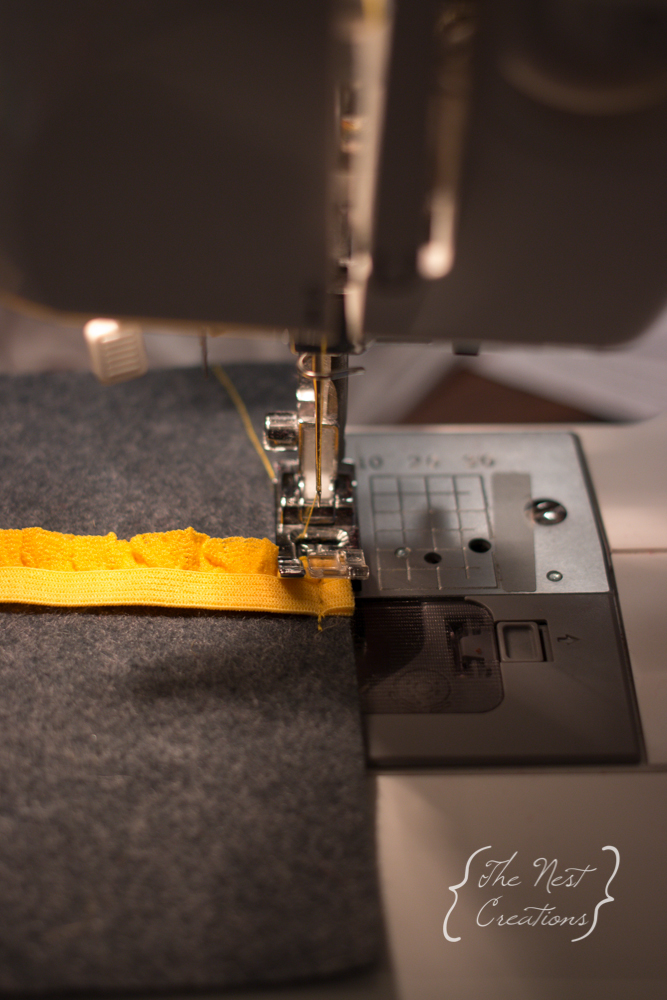
When measuring for your elastic just make it slightly smaller than the width of the pocket laid flat, it doesn’t have to be exact since it has stretch. You are going to be attaching the elastic with the right sides together so that when you slip it around the pocket the right side of the elastic shows. Head over to your sewing machine and stitch a quick straight stitch back and forth over the elastic on the front of the pocket about 1/4 from the side. I like to go back and forth 3 or 4 times so that I know the elastic is secure, especially for little hands that are going to be pulling on it. The last step is to trim the elastic if it is hanging over the edge.
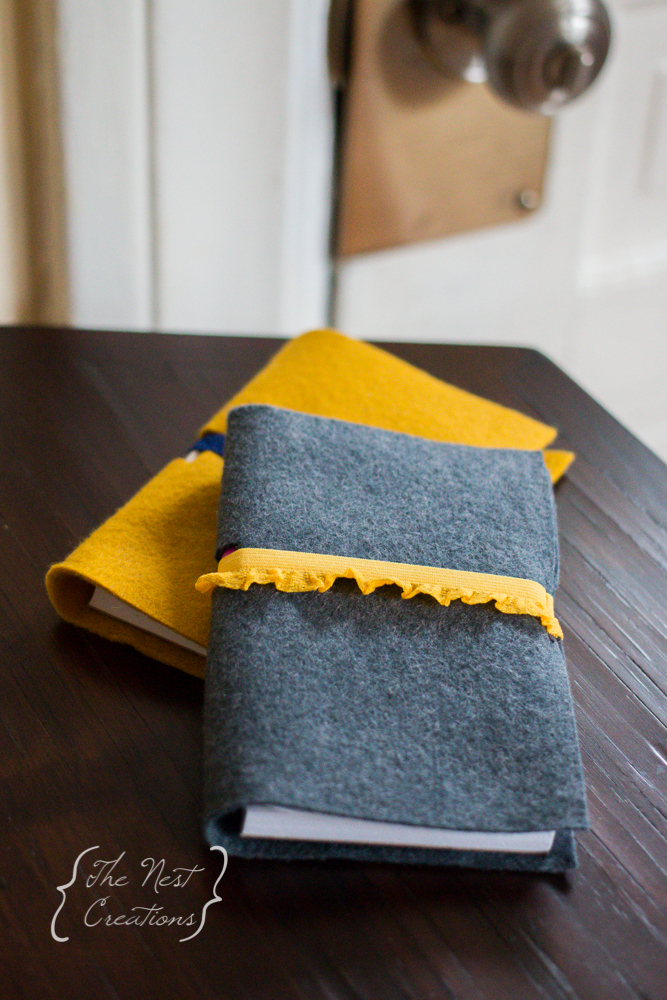
With only a few materials and a little bit of your time you made a fun activity for your kids to keep them busy while out and about. These also work great as gifts and as fun party favours for your child’s next birthday. The possibilities are endless with these colouring pockets especially when you consider all the fun colours of felt and fold over elastic they can be customized for any need.
What is your favourite way to keep your kiddos busy while out and about?